Setting up a blog with GitHub Pages and Jekyll
So the time has come to create a blog after about ten years of coding. We’ll see how it goes. The idea is to share some toughts and ideas that comes up once in a while.
Choosing a platform
Knowing nothing about blogging and platforms (except making tons of WordPress-sites a few years back) I had to do some research. My wishes are pretty much:
- Small investment in time to get something up and running
- Free
- No ads
- Lightweight, simple UI with basic features will do
- I don’t want to manage hosting
After searching the web I found a couple alternatives; Medium and GitHub Pages. I chose to go with GitHub Pages with Jekyll since I’m already familiar with GitHub and like the concept of being able to decide myself what shows up at the site.
GitHub Pages works by serving static content from a user-repository at <username>.github.io, which means no servercode or databases can and will be used. To make a functional blog there are some tools that will generate static content (.html, .css files etc). GitHub Pages is actually powered by one of these generators called Jekyll. It makes it possible to create a blogpost simply by creating a file in a /_posts/ folder and GitHub runs the static-site generation automatically on each commit and updates the site. Sounds to me like this approach could be good for my blog.
Creating a site on GitHub Pages
This step is really easy and only involves a couple of clicks actually to get a bare-bones site up. The documentation says you can create a site for a user/organization or for project, I’m creating it for myself so I’ll follow the route to create a user site.
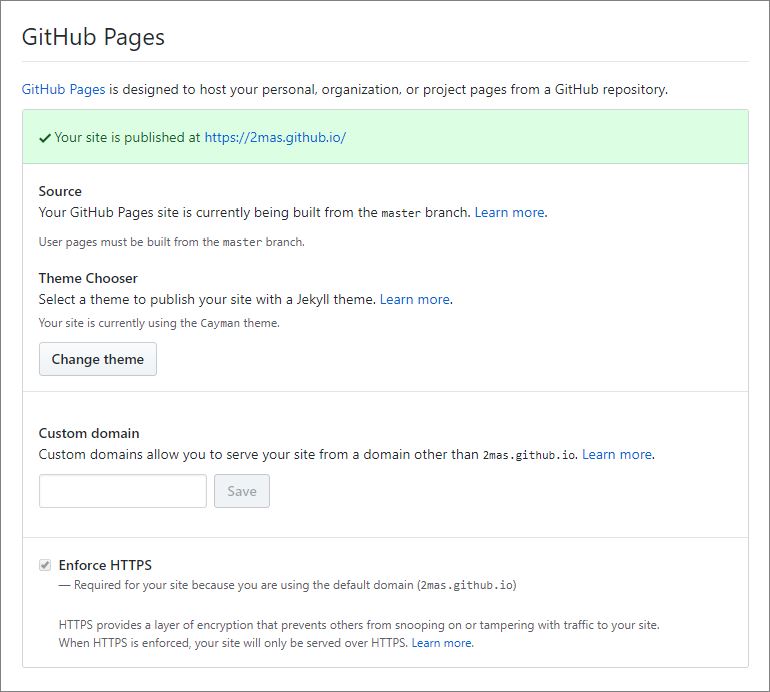
The first step is to create a repository with your username like this: 2mas.github.io. In the Settings-tab of the repository there is a checkbox to enable GitHub Pages that needs to be checked. The repository needs to be public if using GitHub Free. When this is done you should be able to see the new site at <username>.github.io within minutes.
As I mentioned before, GitHub Pages is powered by Jekyll and has a built-in theme-chooser available in the same settings-area. When choosing a theme this way it modifies the sites _config.yml file and inserts a line with the themes name. That’s it and the site reflects the changes with a new theme, simple.

Setting up a local environment with Docker
Install Docker
To test the site and run the static-file generation locally, a ruby-environment is required. Since I do zero ruby-development I’d rather not install this on my computer if I can avoid it. This seemed a perfect case to use Docker. So the first step is installing Docker.
On Windows install Docker Desktop, and if it’s not supported you can try Docker Toolbox, worked for me when trying with Home-edition.
Find an image
The next step is to find a suitable image to create a container from. I had try a couple of images until i found jekyll/builder created by Jekyll at Docker Hub, see documentation at GitHub. This image supports using Gemfile and installs everything without problems. This was not the case when using the jekyll/pages image for me.
jekyll/pages worked fine to create a starter-page using the supported themes at GitHub, that only required the gh-pages gem. But to enable some more blogging-features like post-pagination, additional gems are required like jekyll-paginate, and I had more success here with the jekyll/builder image.
Start a container
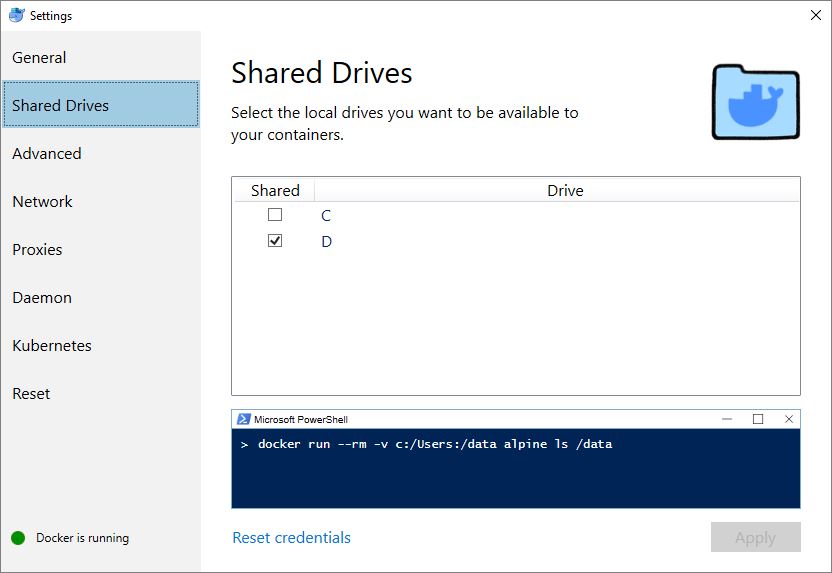
We are going to start a container and share our files with this container that will serve up a site now. First we need to make sure the virtual machine that is run by Docker can share files, in Docker Toolbox this is default to the current user-directory in Windows and in Docker Desktop we need to right-click the Docker-icon and go into settings to share the drive.

When using Docker Desktop on Windows I use PowerShell to start a container like this
docker run --rm -it -v ${PWD}:/srv/jekyll -p 127.0.0.1:4000:4000 jekyll/jekyll:builder bash
This leaves me in a terminal where i can run all commands i need like bundle install to install Ruby gems that are specified in Gemfile. (The .gif below is a bit trimmed, takes a little longer)
bundle install

Ultimately to build and start the site using the gems specified in Gemfile run:
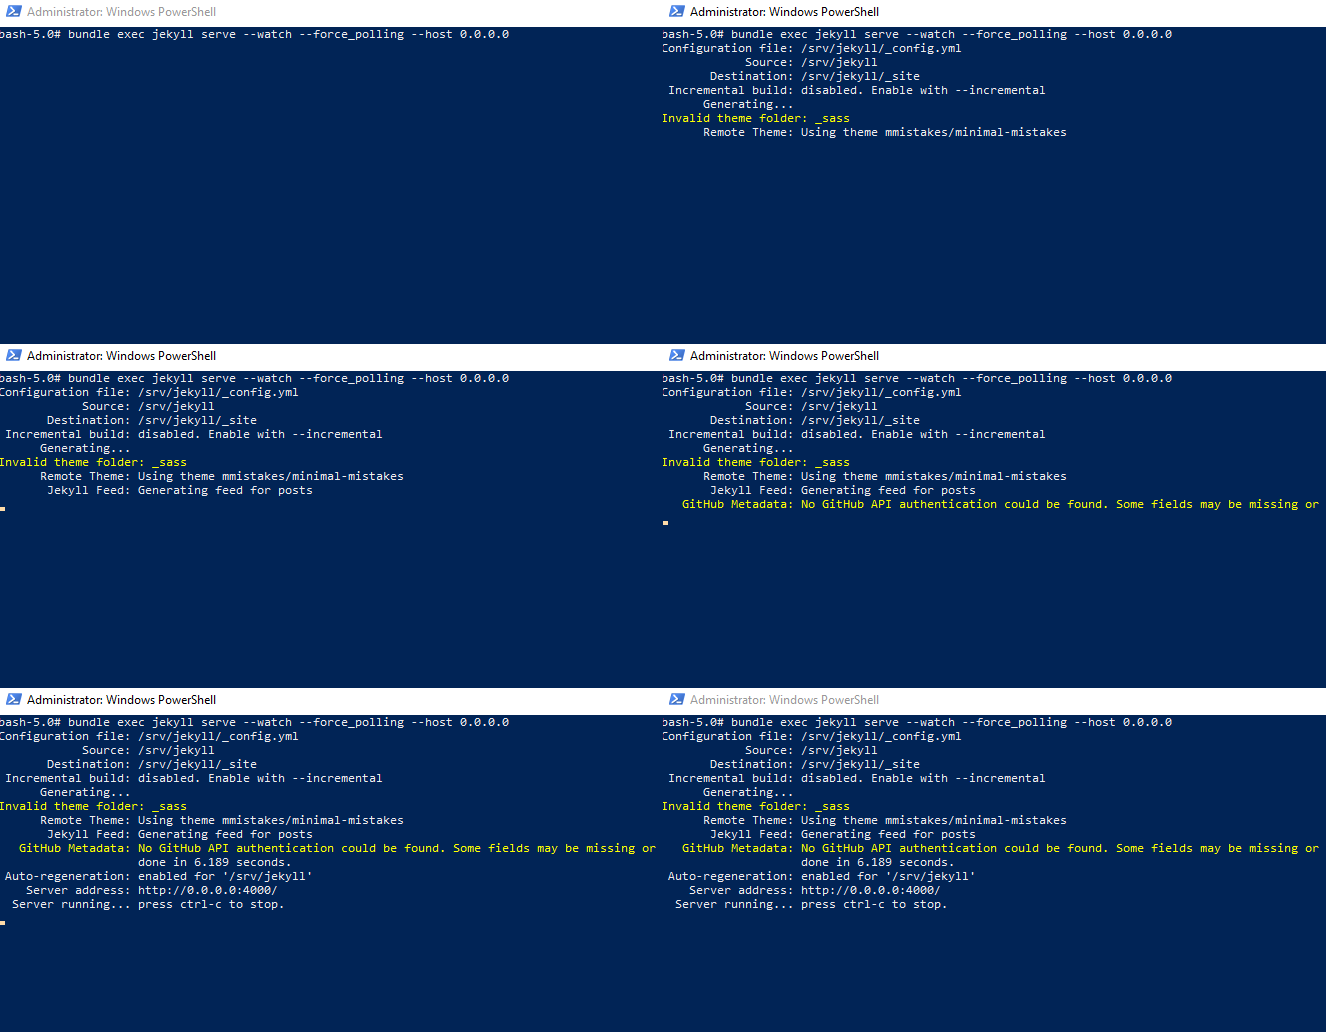
bundle exec jekyll serve --watch --force_polling --host 0.0.0.0
which starts a site and watches for changes. The site is now browsable at http://127.0.0.1:4000 with Docker Desktop or if using Docker Toolbox the default address would be http://192.168.99.100:4000
The reason for using bundle exec jekyll serve instead of just jekyll serve is that the running it with bundle makes sure the correct versions of gems are being used. It might work to run without bundle, but it might aswell not.

Using a theme and creating a post
So at this point it’s possible to make your own theme or use anything already hosted on GitHub as a remote theme. I choose to use a theme called Minimal Mistakes as it gets me up and running fast with blog-posts, pagination, comments and looks nice :) There is some starter-code that shows how to set up common things, or have a look at my repository to see my files.
Leave a comment